
A 64x64 image has 4,096 pixels. A photo from your phone has around twelve million. Converting one into the other means throwing away more than 99.9% of the information, and the trick is choosing what survives.
I've spent a long time looking at photos at this size, because I build Frame, an LED frame with a 64x64 grid that shows photos sent from a phone. Every photo of a lit panel in this guide is a real panel photographed in a real home, not a mockup, except one simulation that I point out. Here's what I've learned about which photos work, how to prepare them with free tools, and what to expect when they light up.
If you have a Divoom Pixoo 64 or a homemade 64x64 LED matrix and you're looking for an image converter, the steps below give you a 64x64 file you can load on any of them.
The short answer
- Pick the right photo: one subject, close, with a simple background and strong light. Faces filling the frame work. Wide landscapes, groups and dark rooms don't.
- Crop it square and tight before you shrink it. Cut away everything that isn't the subject.
- Boost contrast and saturation a little. LEDs flatten soft colours and swallow dark areas.
- Downscale with a smooth method (bilinear, bicubic or similar), not nearest neighbour. Nearest neighbour is for enlarging pixel art, not for shrinking photos.
- Limiting the palette is optional. It makes the result look more like hand drawn pixel art, but a good LED panel can show the photo with its full colours.
- Judge it at real size, from a couple of metres away, the way you'll see it on the wall.
Which photos work at 64x64
Think of 64x64 as a very small, very bright postage stamp. What reads well at that size is shape and colour, not detail.
Photos that work:
- One face, close up. A selfie or a portrait where the face fills most of the frame. The eyes and the smile only get a few pixels each, but our brain is very good at completing faces.
- Strong, simple colours. A blue sky, a red jacket, a yellow flag, a sunset. Big areas of clear colour become clean blocks of pixels.
- A clear silhouette. A lighthouse, a dog sitting, a mug on a table, a bike against a wall. If you can recognise the subject from its outline alone, it will survive.
- Good light. Daylight, outdoors or next to a window. The brighter and more even, the better.
Photos that struggle:
- Wide landscapes. The mountains, the sea and the town all become a few rows of pixels each, and the result looks like a striped blur.
- Groups. Five people in one photo means each face gets about ten pixels across, and the faces turn into dots.
- Busy backgrounds. Shelves, crowds, leaves and patterned walls turn into noise that competes with the subject.
- Dark photos. On an LED panel, dark pixels are LEDs that are barely on. A photo taken indoors at night loses most of its detail.
- Text. Small text in a photo, like a sign or a screen, becomes unreadable at this size. If you want words, add them later in a pixel font, one letter per few pixels.
Here are four photos as they actually look on a 64x64 panel. The first two read well: a face filling the frame, and a scene with strong, simple colours.
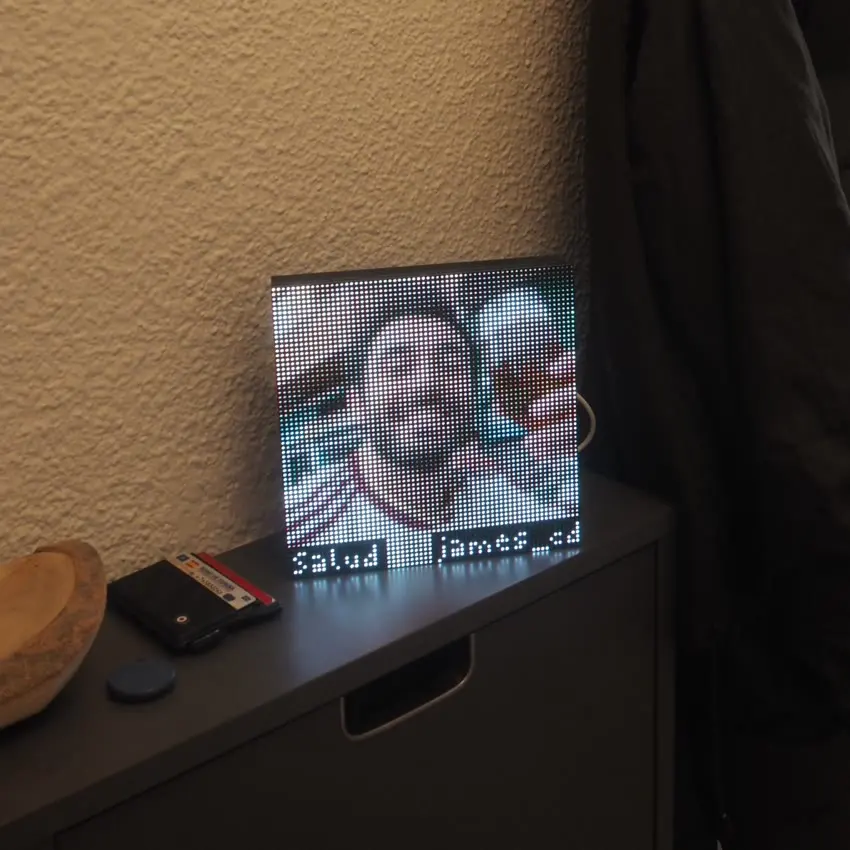
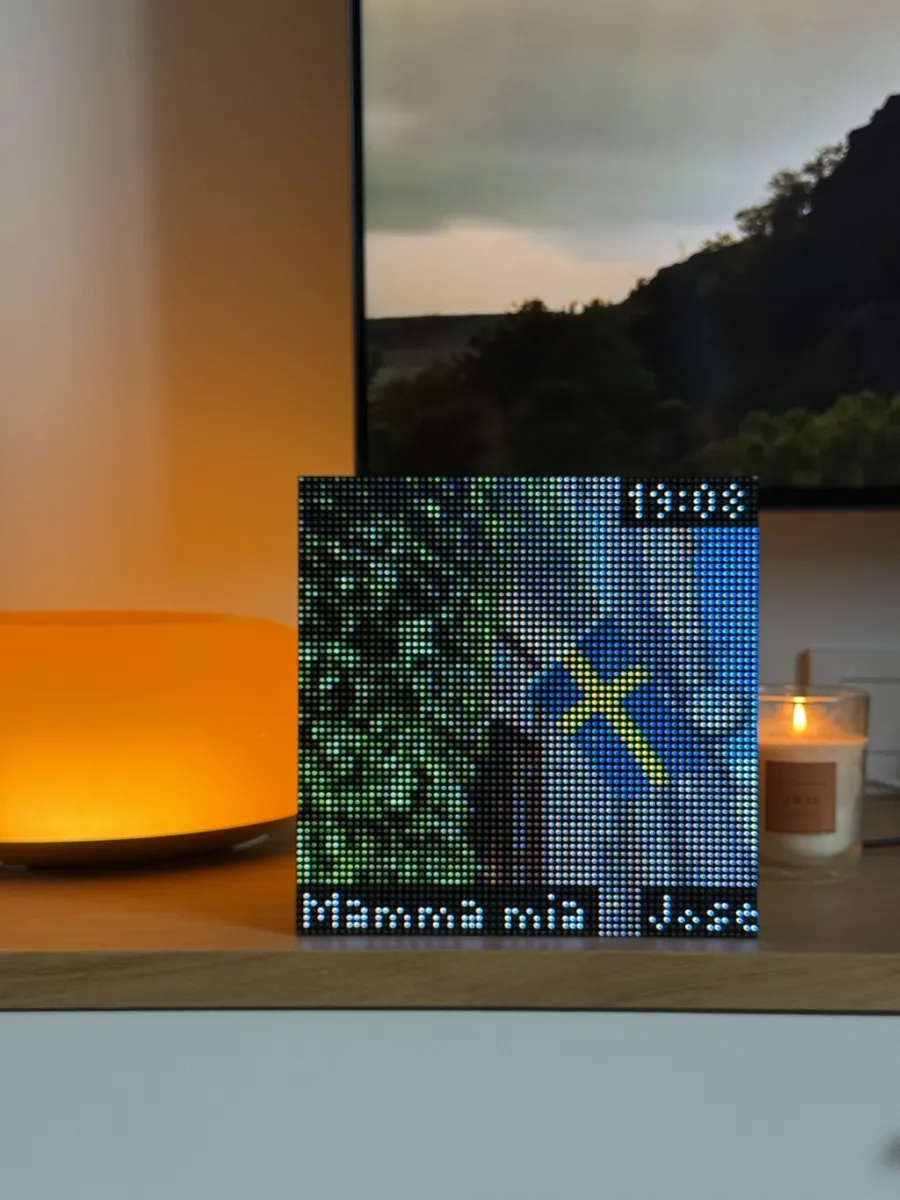
The next two are harder. In the first, the person is small and surrounded by a busy background. In the second, the photo was taken indoors with little light, and it becomes a dim mix of shapes that's hard to read from across the room.
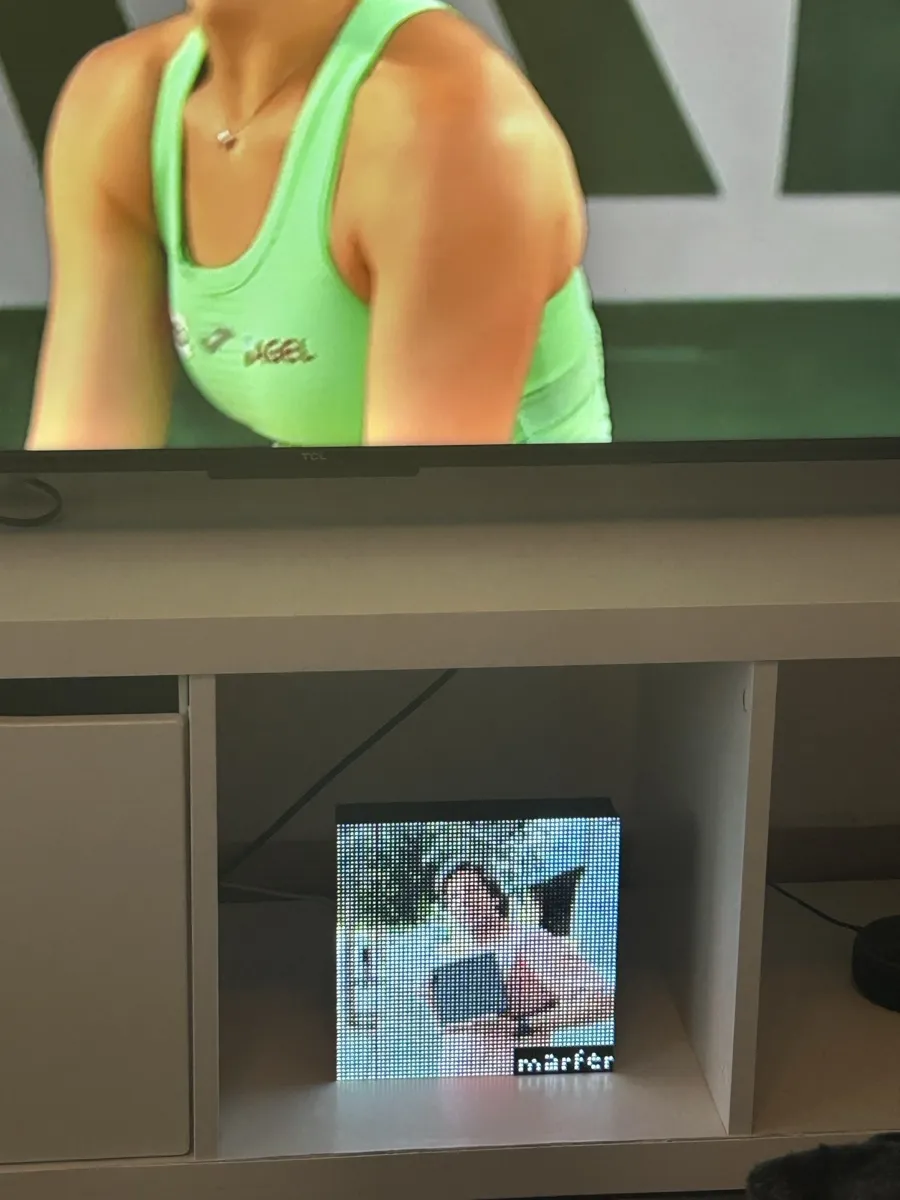
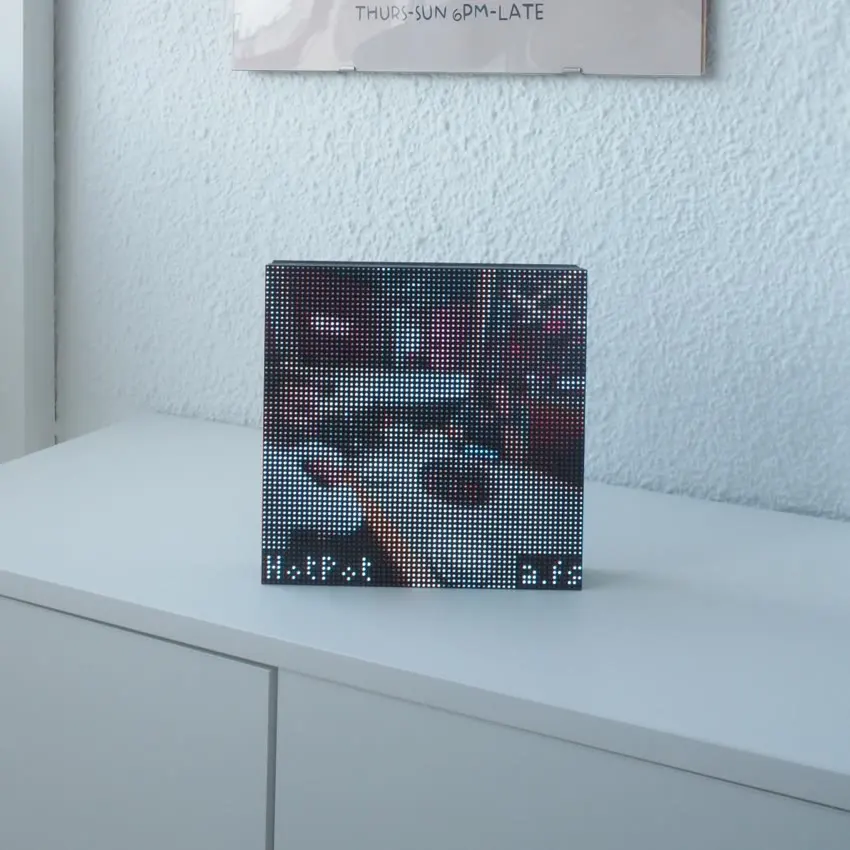
Step by step: how to convert a photo to 64x64 pixel art
You don't need to pay for anything. I'll give the steps for GIMP, which is free and open source for Windows, Mac and Linux, and the same ideas work in Photopea, a free image editor that runs in the browser (it has ads, and a paid Premium account removes them). Menu names below are GIMP's.
1. Crop it square, and tighter than feels right
A 64x64 image is square, so start by cropping the photo to a square yourself. If you let a tool do it, it will usually keep the centre, and that's often not where the subject is.
Then crop tighter. In the image below, the left side is the whole photo shrunk to 64x64. The right side is the same photo cropped around the lighthouse first. Same number of pixels, but on the right they are all spent on the subject.
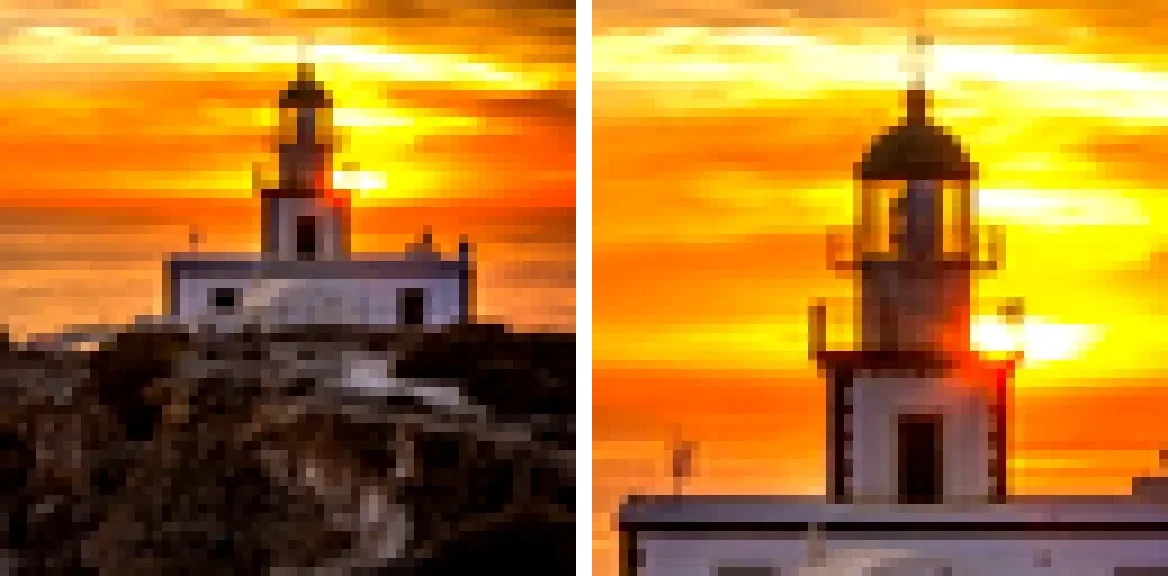
In GIMP, use the Crop tool with the "Fixed Aspect ratio" option set to 1:1, and drag it around your subject. Leave a little space around it, but not much.
2. Simplify the background
If the background is busy, there are a few easy fixes before you shrink the photo:
- Crop it out, which is why step 1 matters so much.
- Darken it. Select the subject, invert the selection and lower the brightness of everything else. On an LED panel, dark pixels are nearly off, so a dark background makes the subject stand out.
- Blur it a little. A soft background turns into smooth colour, not noise.
3. Boost contrast and saturation
At this size, and especially on LEDs, soft photos look flat. Raise the contrast and the saturation a bit more than you would for a normal photo. In GIMP, the Brightness and Contrast and the Hue and Saturation tools in the Colors menu do the job. Don't push it so far that skin turns orange; a little goes a long way.
Also check the shadows. If the darkest parts of the subject are very dark, lift them a little (Colors > Curves or Colors > Levels). On a panel, anything near black simply disappears.
4. Downscale to 64x64: smooth or nearest neighbour?
This is the step most guides get backwards. In GIMP, go to Image > Scale Image, set the size to 64 by 64 pixels and choose an interpolation method. GIMP offers None (nearest neighbour), Linear, Cubic, NoHalo and LoHalo.
Nearest neighbour keeps one original pixel out of each block and throws the rest away. When you shrink a photo by a factor of 50 or more, that choice is almost random, and you get harsh edges and stray pixels.
Smooth methods (Linear, Cubic, and NoHalo, which GIMP's manual recommends for shrinking an image to less than half its size) average each block. The colours are more faithful and the shapes are calmer.
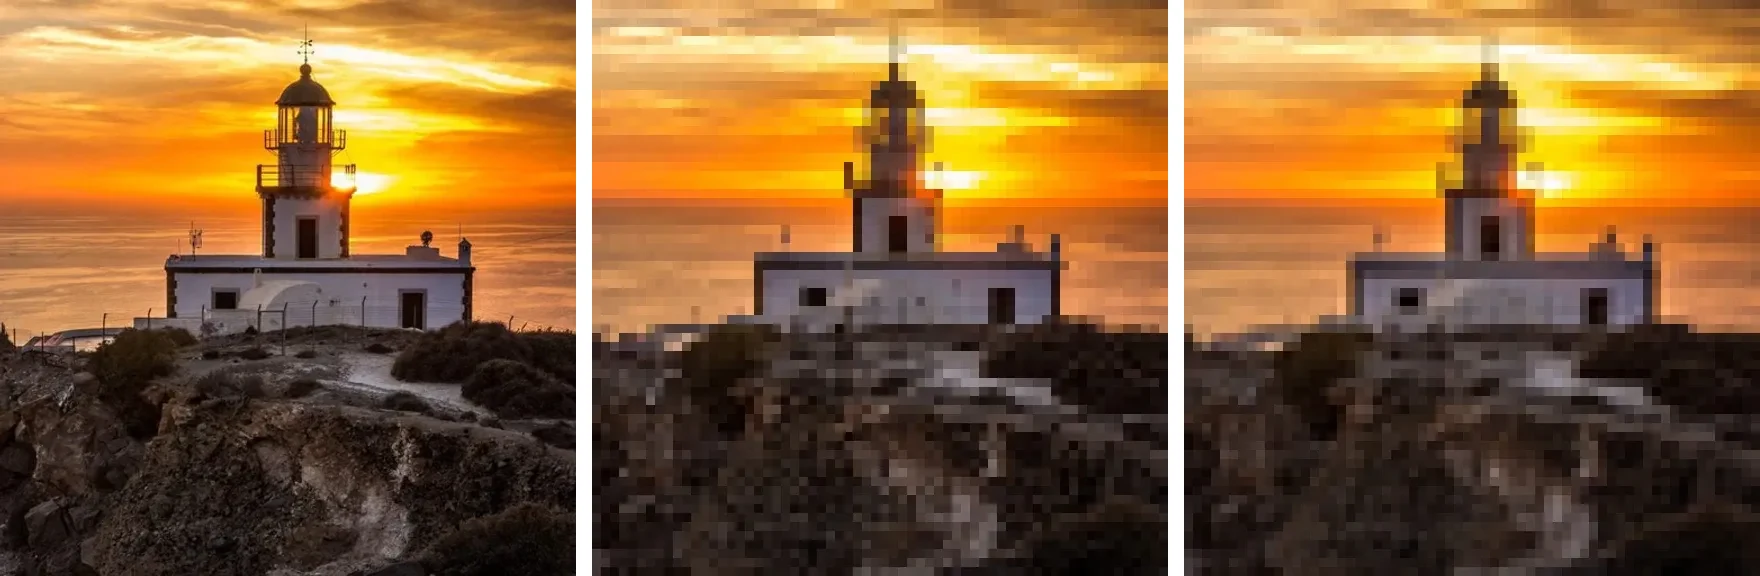
From left to right: the original, nearest neighbour, and smooth. The difference is subtle in a sunset, and much more visible in faces and fine textures, where nearest neighbour creates speckles.
So where does the "always use nearest neighbour" advice come from? It's about enlarging pixel art. When you want to show your 64x64 image bigger on a screen or share it online, scale it up with nearest neighbour (None in GIMP) by a whole number, like 8x to 512x512. That keeps every pixel as a crisp square. Shrink smooth, enlarge sharp.
5. Limit the palette (optional)
Real pixel art usually uses a small number of colours. If you want that look, reduce the colours after downscaling. In GIMP, Image > Mode > Indexed lets you choose "Generate optimum palette" and set a maximum number of colours. Try 16 or 32, and set dithering to None for a clean, flat look.
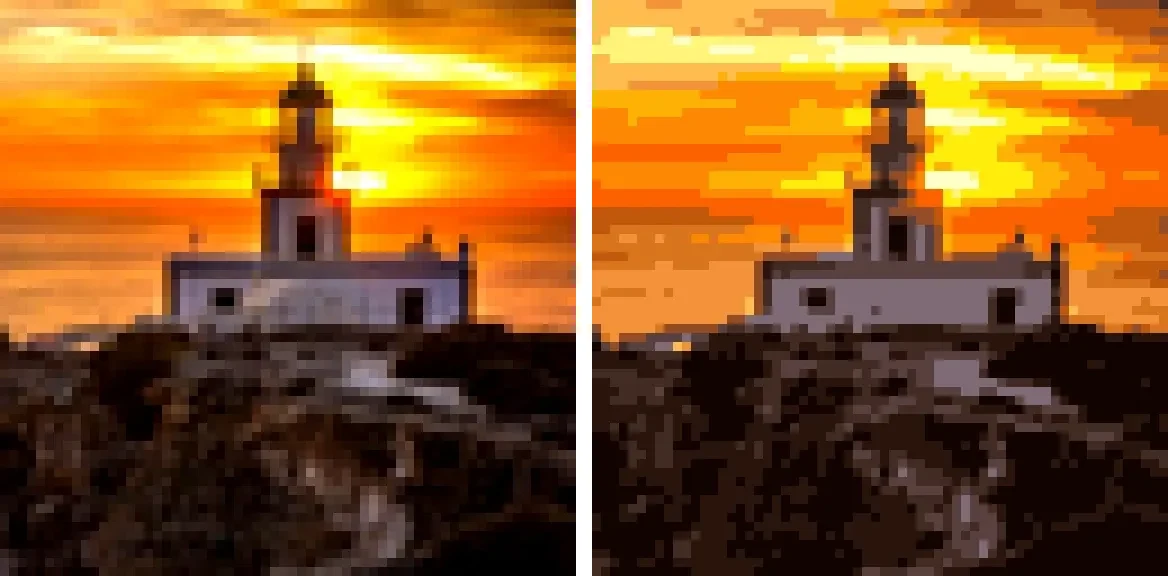
On the left, the 64x64 image in full colour. On the right, the same image with 16 colours. The right one looks more like drawn pixel art; the left one looks more like a tiny photo. Neither is wrong. If your display shows thousands of colours, you can skip this step entirely.
6. Clean up a few pixels by hand
Zoom in and look at the 64x64 image pixel by pixel. Often three or four changes make a big difference: an eye that's one pixel too dark, a stray bright pixel in the background, an outline that's broken in one spot. Use the Pencil tool with a size of 1 pixel. This is where a converted photo starts to look intentional.
7. Export as PNG
Export with File > Export As and choose PNG. Avoid JPG for pixel art: its compression adds blotches around edges, and at 64x64 every pixel counts. If your device has its own app, like Divoom's for the Pixoo 64, import the PNG from there. Divoom's own guides say its app can also turn photos into pixel art by itself, so you can compare both results and keep the better one.
How it looks on a real LED panel
A 64x64 image on a computer screen and the same image on an LED panel are two different things. A few things I've noticed looking at panels every day:
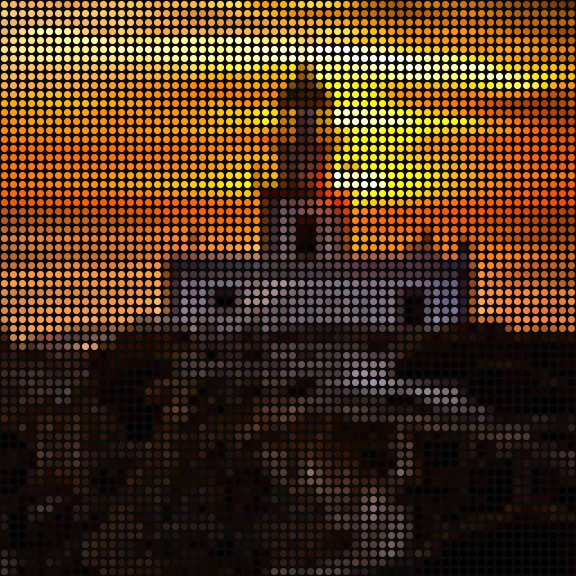
- Every pixel is a point of light. Up close, you see a grid of dots with dark gaps between them. From a couple of metres away, the dots blend and the image appears. That's why you should judge your conversion from across the room, not from your nose.
- Dark becomes off. Shadows that look like dark grey on your monitor are LEDs that are barely lit. That's the reason for lifting the shadows in step 3.
- Colours glow. Saturated colours look more intense on LEDs than on a screen, especially in a dim room. Bright yellows and oranges, like a sunset, are where a panel shines.
- Phone photos of panels lie a little. If you take a photo of your panel to share it, the camera may show lines or exaggerate the glow. What you see with your eyes is calmer.
This is roughly what the lighthouse above looks like as dots of light, a simulation of a panel seen up close:
Where Frame fits
All of the above is what I'd do to prepare one perfect image. But most of the photos I want to see on a 64x64 panel aren't ones I'd sit down and edit. They're photos from my people: my parents, my brother, my friends, taken on a normal day and sent from a phone.
That's why I built Frame. It's a frame with a 64x64 LED grid that lives in your home. The people you love open the free app (iPhone and Android, no subscription), take or choose a photo, and it shows up on your Frame, wherever they are. They can also send drawings and short videos. Frame does the square crop and the downscale on its own, so nobody has to open an image editor. The panel photos in this guide are all from Frame, and along the bottom you can see the name of whoever sent each one.
The photo tips still apply, and they're the ones I'd tell anyone sending to a Frame: get close, keep it simple, and look for good light.
I built it because my job took me to Valencia, almost 1,000 km from my parents, my brother and my friends, and I wanted to feel them close without having to pull out my phone. You can read the whole story here, or see how Frame works on the home page.
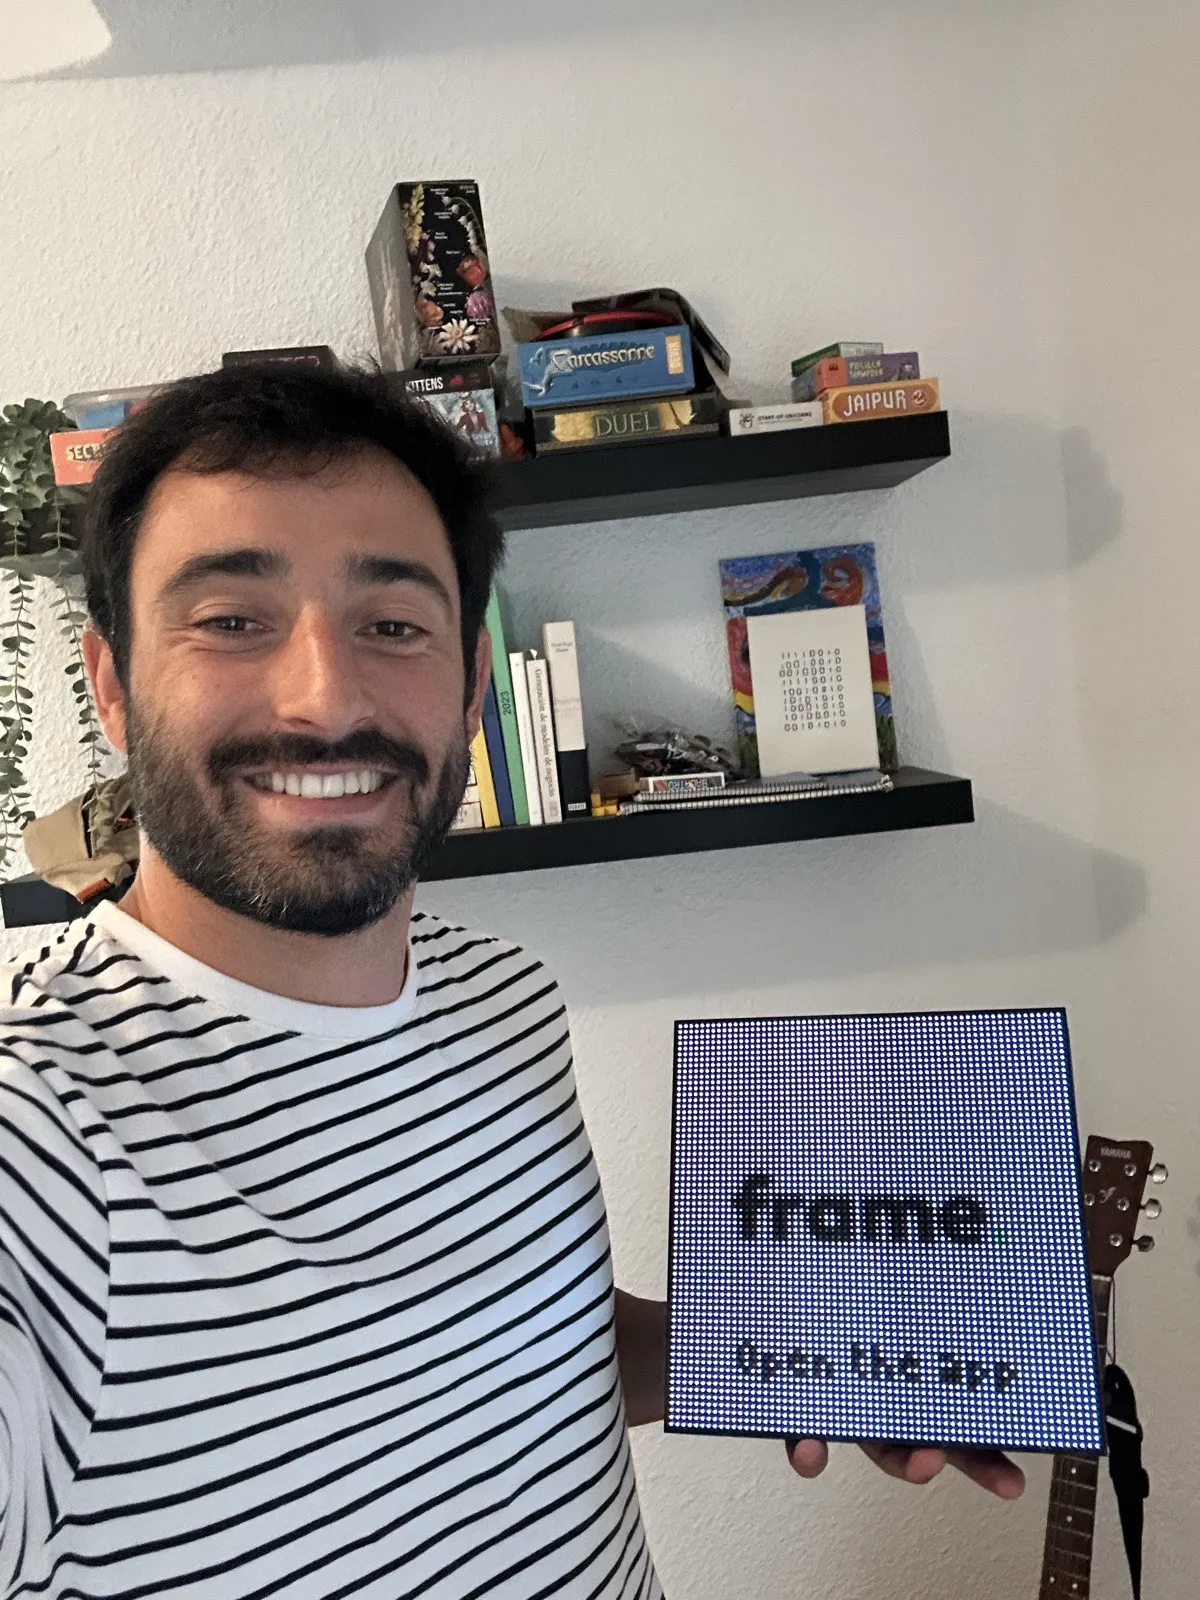
You can't buy Frame yet. It launches on Kickstarter on February 1, 2027. If you're comparing pixel displays, I also wrote guides to Divoom Pixoo 64 alternatives and Tidbyt alternatives.
Summary
- Choose photos with one close subject, simple background, strong colours and good light.
- Crop square and tight, simplify the background, and boost contrast and saturation.
- Shrink with a smooth method; enlarge with nearest neighbour.
- Reduce the palette only if you want the hand drawn look.
- Fix a few pixels by hand, export as PNG, and judge it from across the room.
And if what you'd really like is a 64x64 panel at home that lights up with photos from the people you love, leave your email below. People on the list get in 24 hours before everyone else, at the founder price.
Best,
Álvaro M.